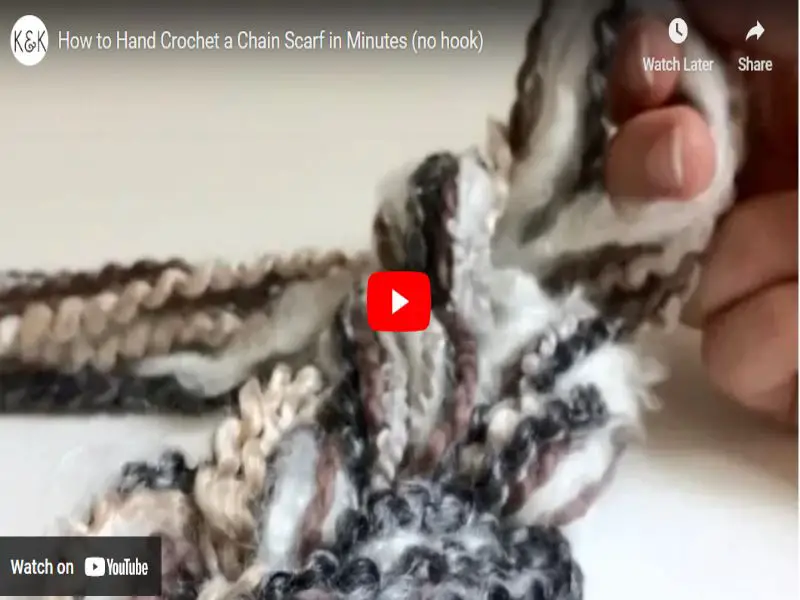
In this quick video, we are going to show you how to hand crochet a chain scarf in minutes. This
Sewing Embroidery Tutorials
In this quick video, we are going to show you how to hand crochet a chain scarf in minutes. This
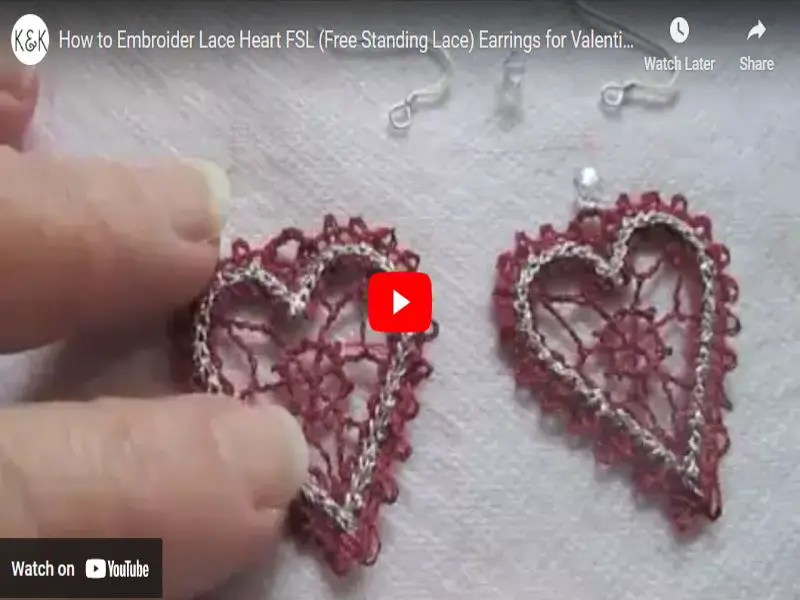
Hey everyone! In this video, we are going to be learning how to embroider lace heart FSL. This is a
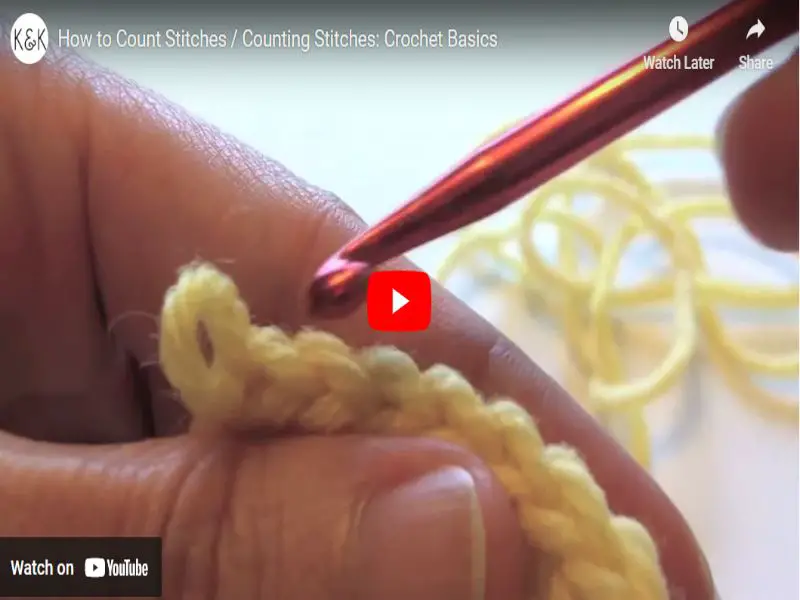
In this video, we are going to teach you how to count stitches in crochet. By the end of the
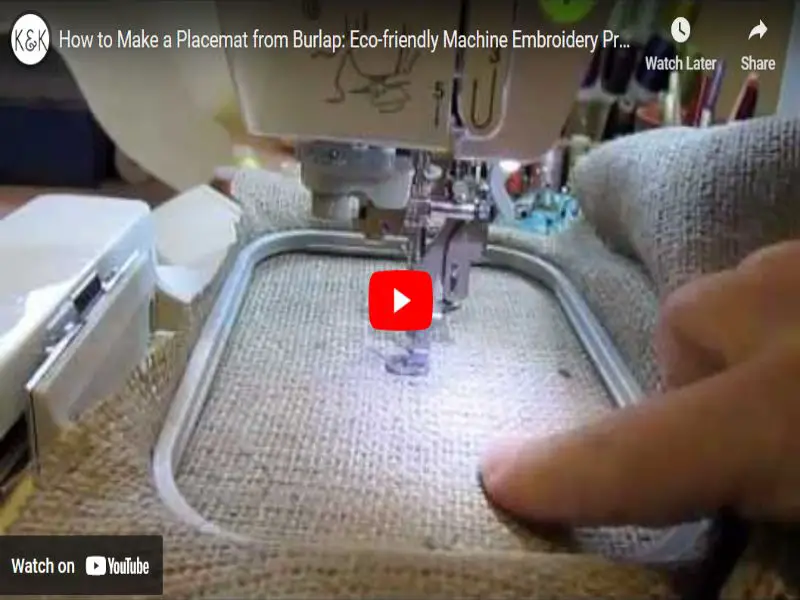
In this how-to video, we are going to show you how to make a placemat from burlap. This placemat is
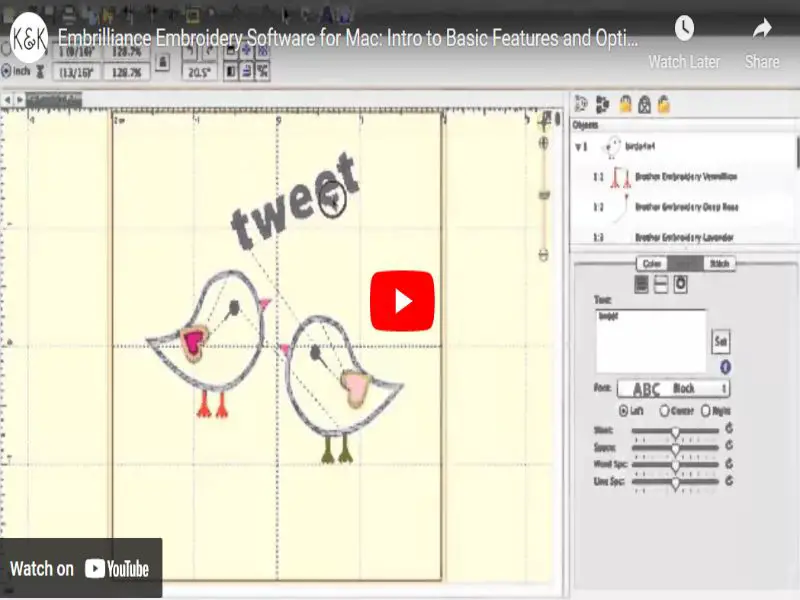
Are you looking for embroidery software that’s compatible with your Mac? If so, then Embrilliance Embroidery Software is the perfect
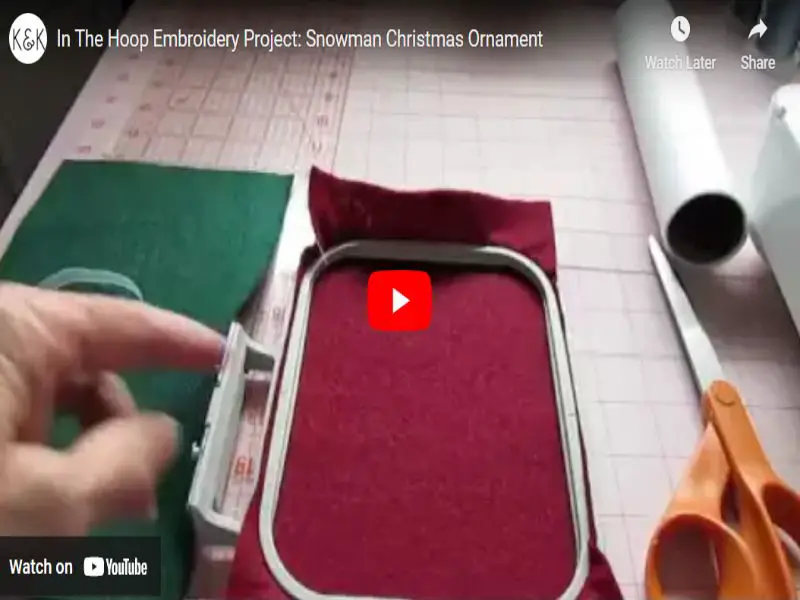
In this project, you will learn how to hoop Embroider a Snowman Christmas Ornament. This is a really easy and
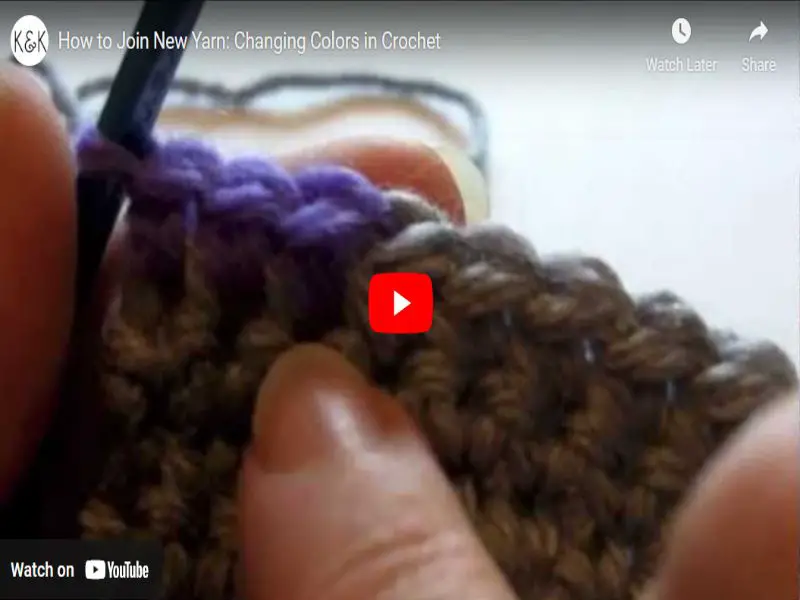
This video is all about how to join new yarn when crocheting. Sometimes when you are crocheting a project and
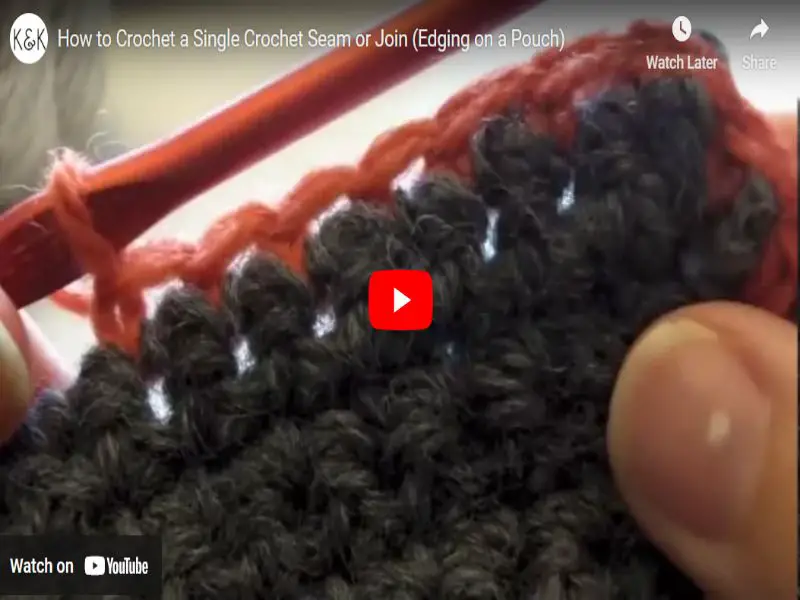
In this video, we are going to show you how to crochet a single crochet seam or join. This is
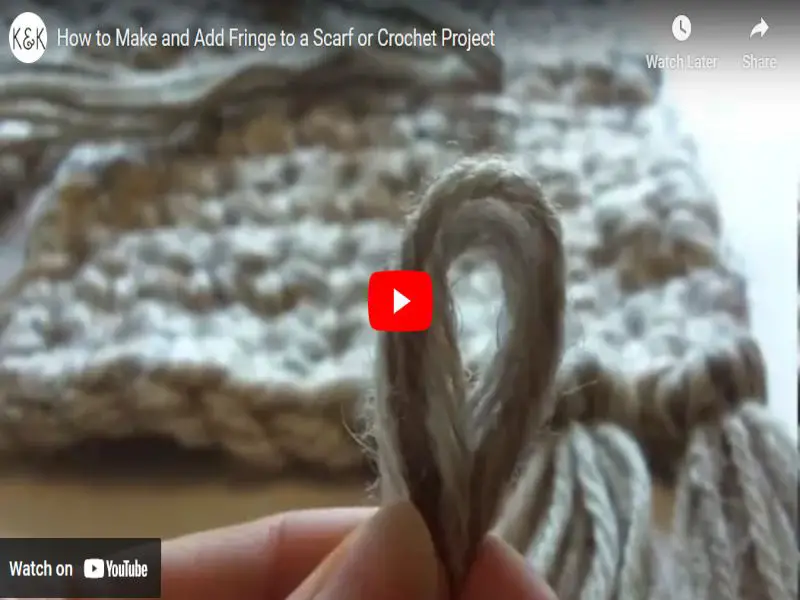
In this video, we are going to show you how to make and add fringe to a scarf. Fringe is
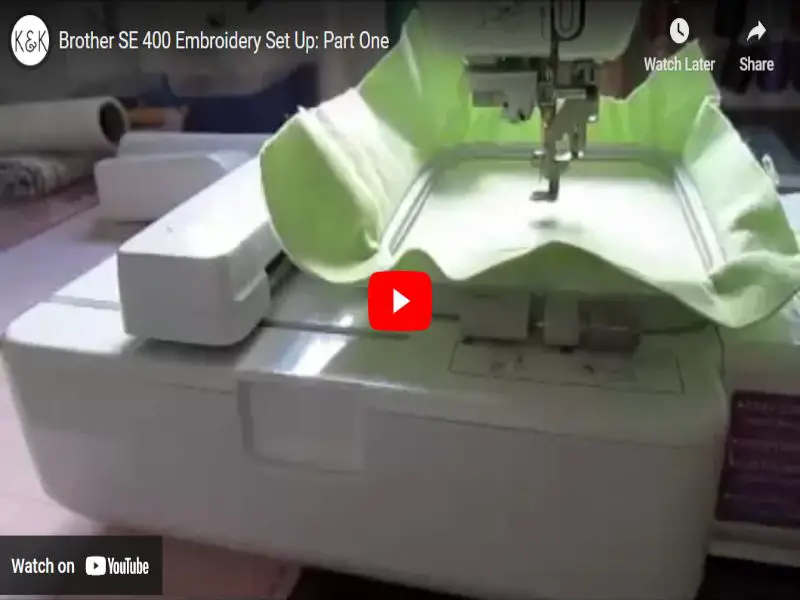
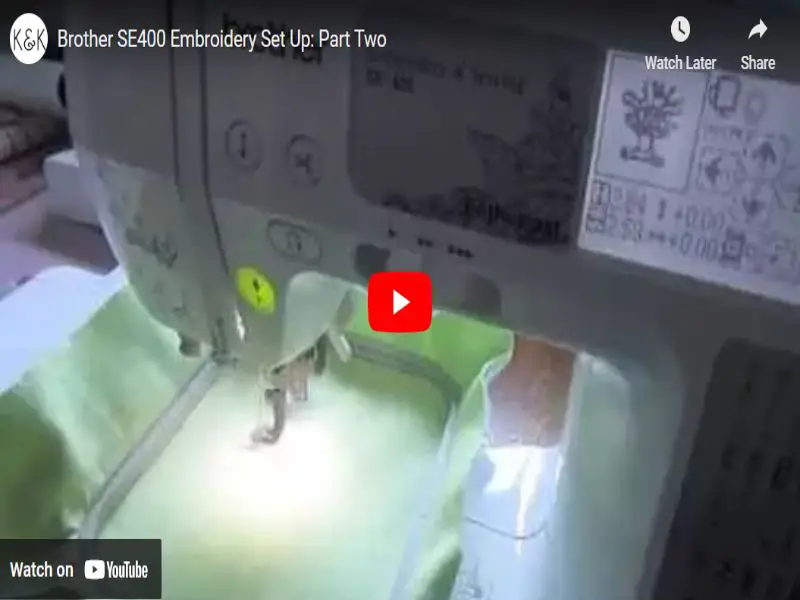
Brother SE 400 Embroidery Set Up – This Brother SE400 embroidery set up is perfect for beginners. It has a
Are you looking for a great way to add some personalization to your garments but don’t have the time or
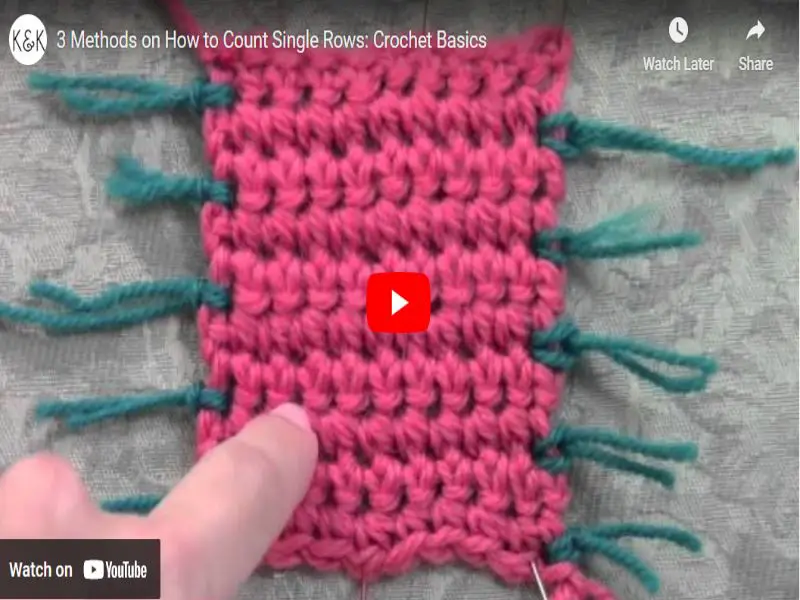
In this video, we are going to show you some methods on how to count single rows in crochet. This